
Run
SDS Sales Launcher from the shortcut created by the
setup
Click on the LOCATE button
Set path to the SDS SALES\PROGRAM folder
Click Save & Exit and Close.
Each time the shortcut is activated by the user, SDS Sales Launcher will automatically check the network and verify that the versions and date stamps of the all the application’s components to ensure that those currently in use on the local computer are the most recent. This process ensures smooth updating of all clients with the most recent software available.
Initial SDS Sales Client Settings
If
this is your initial launch of Sales, the system will prompt you for database
information: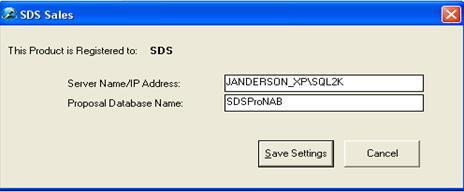
The database is now known as SDS Sales. Enter in the SQL Server Computer Name or IP Address, along with the SDS Sales Database Name in the appropriate fields and select [Save Settings].
NOTE: If the user is mobile, and cannot view Windows Computer Names via the network when establishing a remote connection (i.e. over VPN), it is suggested to enter the IP Address of the server name. Ensure that gateway and DNS server settings of the client will permit connectivity to the database during remote connection.
Once
settings are saved, the Login Dialog will appear: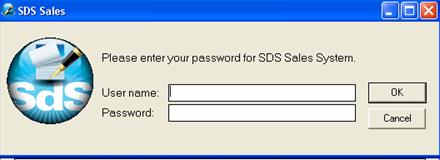
Enter the
username and password of an SDS Sales
user.
It is suggested that you log in with an account that has administrator privileges, to complete the additional tasks required.
If the login is successful, you should continue seeing the splash screen:
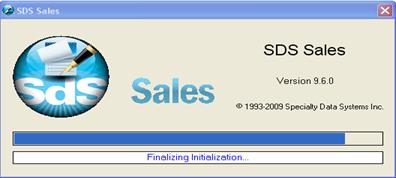
Congratulations! The client setup is now complete!