
To include a program/rotation to the Proposal, simply double click on the desired program/rotation from the Program Listing. The desired program/rotation will then appear at the bottom window.
Once the programs/rotations for the Proposal have been selected, the user may further define each line.
The following items may be defined for each line:
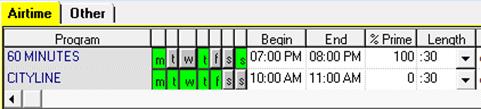
Days on air – The days on air are displayed in Green. Users may turn off specific days on air by clicking on the specific days. Note: Users cannot turn on Days that are not air.

% Prime – the percentage of prime can be changed and saved at the proposal level. Depending upon the user’s prime definitions, and the time period of the program, the program will go in with a default of 100%, 50% or 0%.
The default % Prime in this example is 100% and 0% - this can be changed to whatever value is necessary
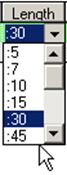
Length – The length of spots may be changed by selecting the desired Length from the drop down menu; the ratings, rate, and Avails will be refreshed based on the selected Length.
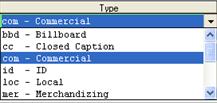
Type – The line type may be defined from the Type dropdown menu. i.e. Closed Caption, ID, PSA, etc.
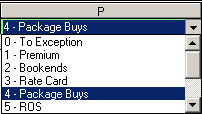
Priority Level – Based on management’s priority definitions, each line should be assigned the appropriate priority level by using the P dropdown menu. Note: The definition of each priority level number is defined by Management.
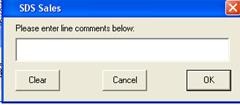
Line Comment – Comments on the line level may be entered by clicking on the C column button on each line. The Line Comments will be displayed on the Proposal Printout or e-mail.

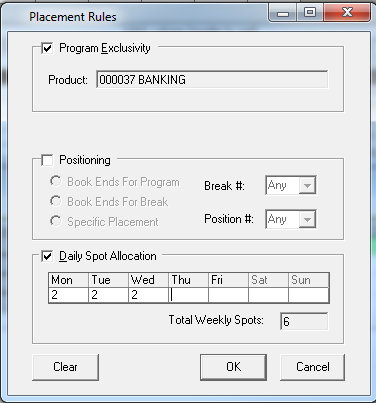
Placement Rules – Placement Rules such as Product Exclusivity, Bookends and Daily Spot Allocation can be defined for each line by clicking on the R column button. Note that if the program has been time tightened the ‘Positioning’ option will be unavailable. Also, if a rotation spot has been chosen, this will be unavailable as well.

Note: To use Program Exclusivity, a Product Code must be defined in Header Information.
Alternating Weeks – Alternating Weeks may be applied to each line by clicking on the Alt column button.

From the Define Alternate Weeks window, input the desired weeks you would like on and off and click OK.

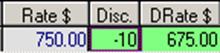
Discounts/Premiums – There are two ways a user may apply Discounts or Premiums on each line. The first way is to apply a % to the Disc. Column for the line. i.e. by entering –10, a 10% discount is applied. The second way is to use the DRate $ column by entering the exact amount which you would like to use.
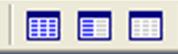
Three Different Views – there are three different views for the schedule
Show All Line Details
![]()
 -
the first view will Show All Line Details – this will show all columns that are
available within SDS, and will appear as the following
-
the first view will Show All Line Details – this will show all columns that are
available within SDS, and will appear as the following

Custom Line Details
![]()
 -
this second view will show the Custom Line Details that have been defined by the
user in User Settings.
-
this second view will show the Custom Line Details that have been defined by the
user in User Settings.
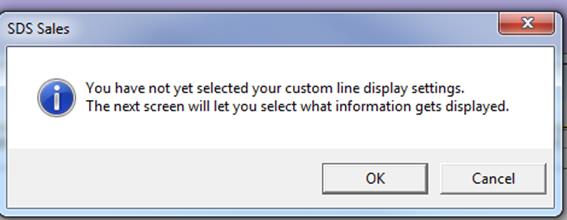
When first entering the User Settings area, this message will appear
There are two sections within the User Settings – Programs and Schedule Builder.
In Programs, this is what will be displayed when selecting the programs/day parts from the list. This takes affect immediately (there is no need to click on one of the different views).
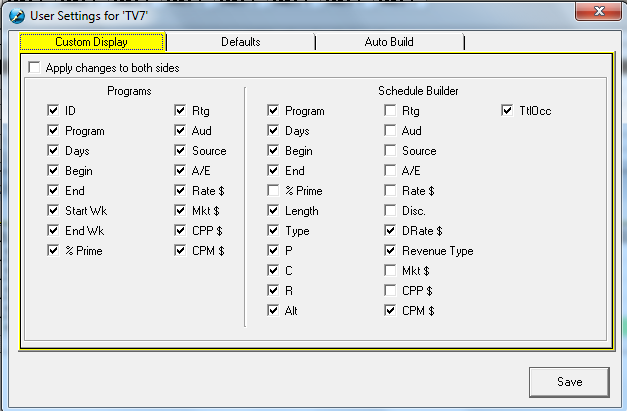
For example, if Rtg, Aud, A/E, Mkt$, CPP$ and CPM$, they will not appear in the Program Information for that station
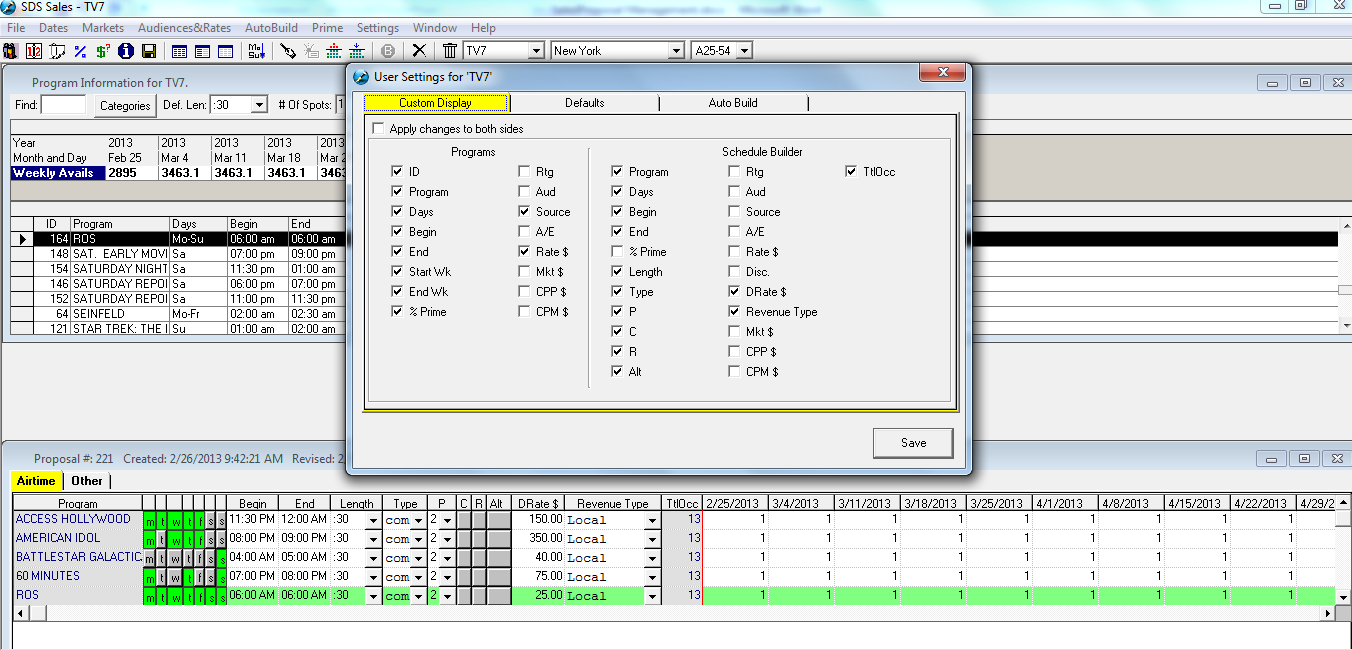
Click on the middle view icon – the schedule view will change based on what the definition is

Hide Line Details
![]()
 -
This will hide all the other columns and only show the program/rotation name and
the # of Spots per week of the flight for your lines.
-
This will hide all the other columns and only show the program/rotation name and
the # of Spots per week of the flight for your lines.
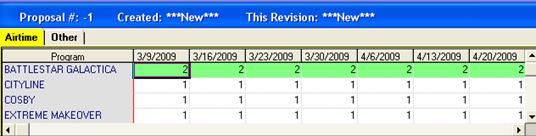
You may change the # of Spots per week for each line easily from this view. Deselect AutoSpotCopy from the top of the window if the # of Spots is not same for each week on the line, when selected, the system will automatically assign the same # of Spots for each week for the line.
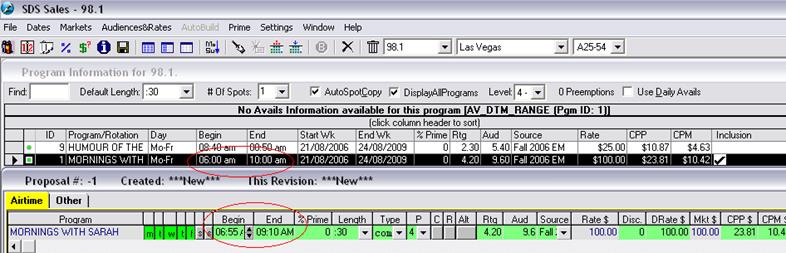
Time-Tightening
To edit the Start and End times in Sales, simply go to the Begin or End field and use the arrows or type into the field to change the Hours, Minutes, or to switch from AM to PM. You can only time tighten within the parameters set. So for example, if the start/end time is 3p-7p, the start time can’t be before 3p, and the end time can’t be after 7p.
Special Lines
To enter Billing (BIL), Non-Time Billing (NTB), Consumable (CSM) & Non-Time Taxable Lines (NTX), click on the Other Tab.

Click on the B button located at the top of the SDS Sales screen.

A line will appear in the Other tab. In the title column, enter in the desired name for this entry. From the Type dropdown menu, select BIL, CSM, NTB or NTX then enter the Rate in the Rate $ column (the line types can be customized under System Wide Settings). The discounts and premiums are applied the same way as Airtime lines. The Start Date & End Date default to the flight, however the user may also change it from the Start Date and End Date columns, by left double clicking or typing in the fields. The start and end dates become important for monthly billing. If a client needs to be billed an exact amount each month, then the billing lines should be entered to have it represented each month. If the order is 52 weeks long, then there will be 12 billing lines to represent one for each month. It is recommended that a date somewhere in the middle of the month be chosen, to ensure that it doesn’t cross over into the next month.

If a client is to be billed a weekly amount for the month, calculate the number of weeks in the broadcast month and multiply the totals. For example, if the weekly amount is $100, and there are 5 weeks in the broadcast month, the amount that is entered is $500. If entering in a comment on the line, this will print on the sales contract printout, just below the line

Proposal and Traffic Comments
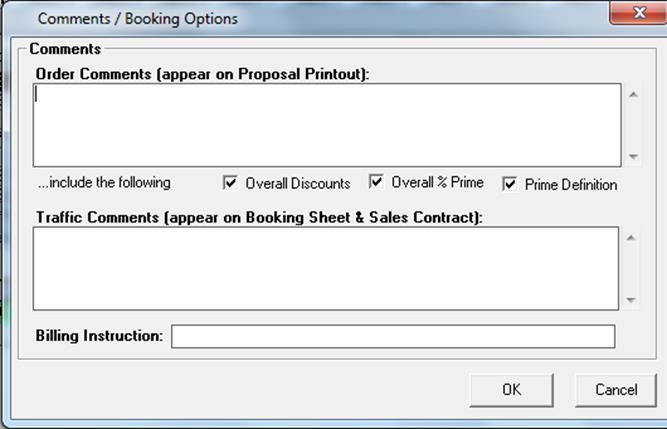
Users are able to enter a comment on the Proposal Printout as well as Traffic Booking sheets. Click on the Order Comment/Booking Options button near the top left corner of the window.

Enter in the appropriate comments in the Comments/Booking Options window. The Order Comments will appear only on the printout from Sales. The Traffic Comments will only appear on the Booking Format and the contract printed out from Traffic (if a Symphony client)
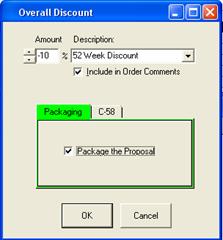
Overall Discount/Premium
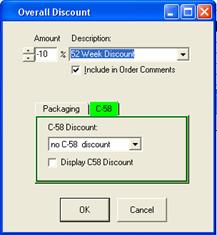
There is the option of applying a Discount/Premium on the line level, but it may also be applied on the order level. Click on the Package/Discounts

Enter the desired amount of Discount/Premium in the Amount field. From the Description dropdown menu select the appropriate definition and click OK
Note: Overall Discount/Premium can be used in conjunction with the Line Level Discount/Premium.
Packaging
By applying the Packing option, all line details will be hidden in the printout and only show the totals of the order.
Verifying the Proposal
From the bottom of the screen, you will notice that there is a summary of the Proposal.

If the information entered is correct, click OK and you will be brought back to the Campaign Summary window.
You can Save, Print or E-Mail your Proposal by using the appropriate buttons in the Campaign Summary window.

MS-Outlook is required to use the e-Mail option. When e-Mail is used, the system will attach a HTML/XML file to the email. The recipient will be able to view the Proposal by opening the attached file as long as they are connected to the internet.