The Upload View displays New Inventory in the upper window that has been sent from Traffic. First, select the intended Station (drop-down list at the top left of screen). Then, select the Audience Format (drop-down list at the left of the screen).
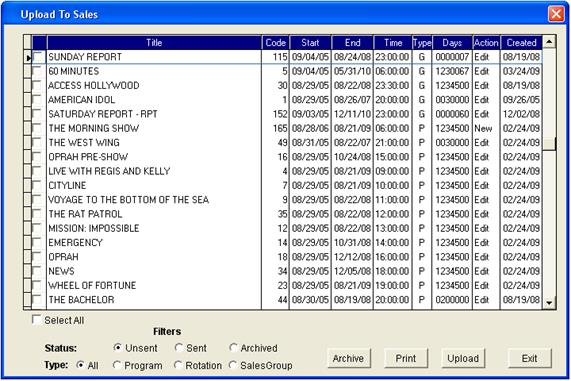
This New Inventory window is populated with information that is sent from Traffic via the following screen in Traffic, under the Sales menuàUpload Status.
In this screen, Traffic may select which inventory items will be sent to Sales. When finished selecting the items to be uploaded, click the ‘Upload’ button. This will send all the selected information to the Upload View screen in Sales.
*Note – this function is only available to those who use SDS Symphony. If a standalone client, this feature will not be included.
The next step for uploading the New Inventory to an audience source, is to select an audience source(s) from the list box to the left of the Existing Inventory window.
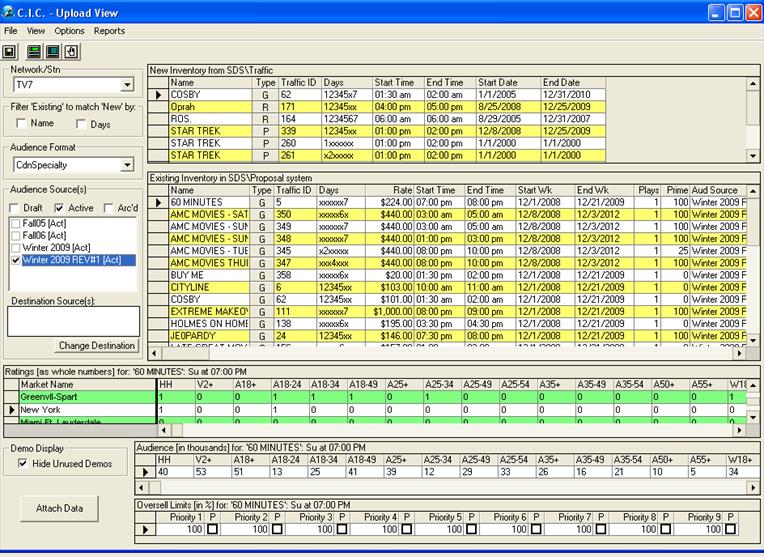
Once an audience source is selected, the bottom window becomes populated with all the Existing Inventory in the selected audience source(s).
To upload the information into Sales, you must first select the program(s) you wish to attach to the audience table(s) by clicking to the left of the item in the New Inventory list. (as pictured below)
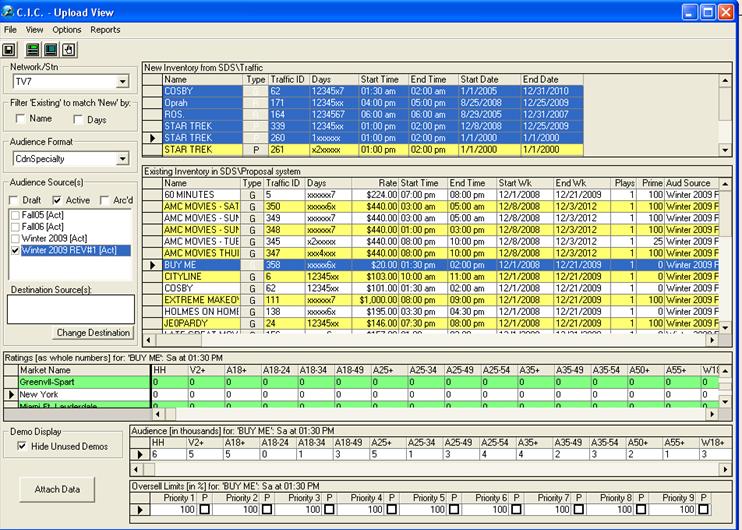
Second, you must select a program from the Existing Inventory list that you will use as a template (as picture above). The programs selected from the top list, will copy the Rates, Audience, Ratings and Oversell limits from the inventory item in the bottom list.
This information can later be edited once it is attached to an audience source.
Once you click on ‘Attach Data’ (at the bottom left of the screen), this pop-up will appear:
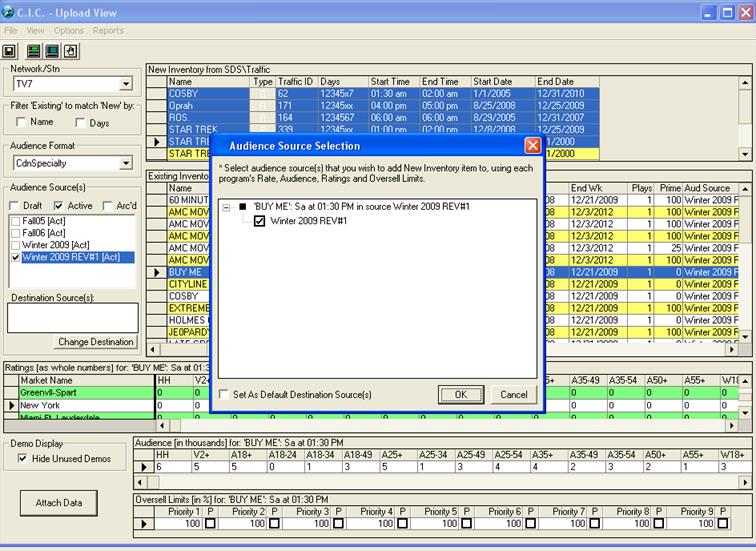
This allows you to select the audience table(s) you wish to attach the new inventory to. Once you have selected the audience table(s), click ‘OK’.
The following pop-up should appear:
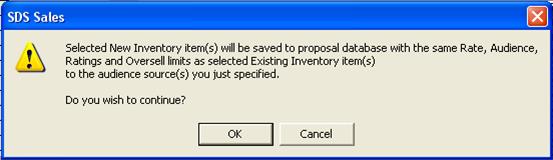
This pop-up advises that the ‘Selected New Inventory Item(s) will be saved to the Proposal database with the same Rate, Audience, Ratings and Oversell limits as the selected Existing Inventory item(s) to the specified audience source’.
Once you click ‘OK’, this screen will appear:
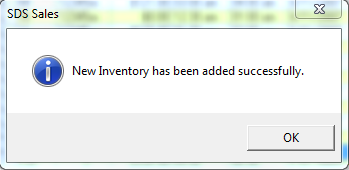
You will now see the new inventory item(s) appear in the Existing Inventory list in the bottom window, indicating that they have now been added to the selected audience table(s). The newly added items will remain highlighted, so that they can be easily identified.