Click on Programming, Scheduling, and then select Regular Scheduling.
Within the schedule screen, there are different views available. Below are the icons and a description of each.
Select the Date Range of the
Schedule
Refresh the Schedule
Grid

Scroll through the Previous Month, Previous
Week, Next Week, Next
Month

Zoom
Columns

Zoom
Rows

Types Legend – Shows a listing of all the
defined COL’s in the
system

The “Conditions of License” is created under Programming, Scheduling, COL Definitions. Please see section “Set up Conditions of License”
Display the Country
Content
Print the
Schedule
Export the Schedule to your personal
drive

Copy the Schedule across networks – please see
section on Copying a Schedule for more
information

Exit the
Schedule

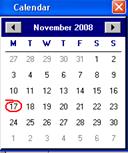
Click on the calendar at the bottom of the screen and select
a date that needs to be scheduled. 
![]()

![]()
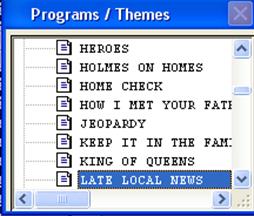
From the Programs/Themes box, scroll through the list until the program that needs to be scheduled is found. To quickly find the title of the program, begin typing the first few
letters within the Programs/Themes box
There are two ways to schedule – Drag and Drop method and using the “New Schedule” feature.
Drag & Drop
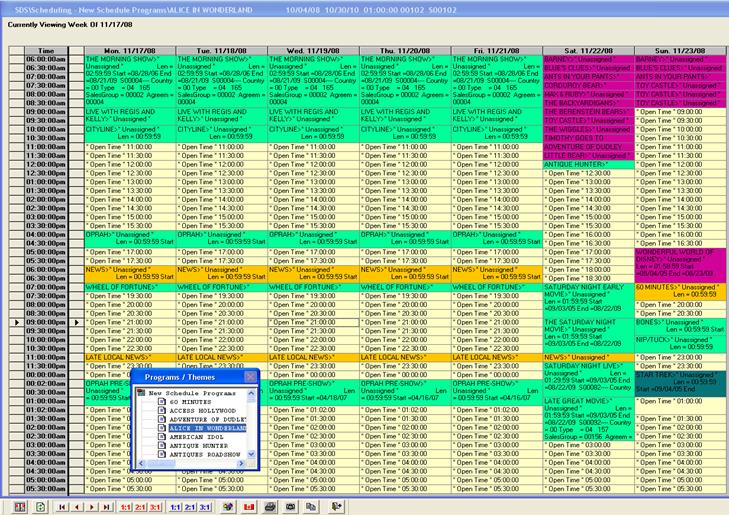
Drag and drop this program into the grid in the time period that it is required to air in. The screen shot below displays Alice In Wonderland being dropped into the Wednesday at 9pm slot
Alice in
Wonderland will air Wed @
9p
![]()
![]()
![]()
![]()
![]()

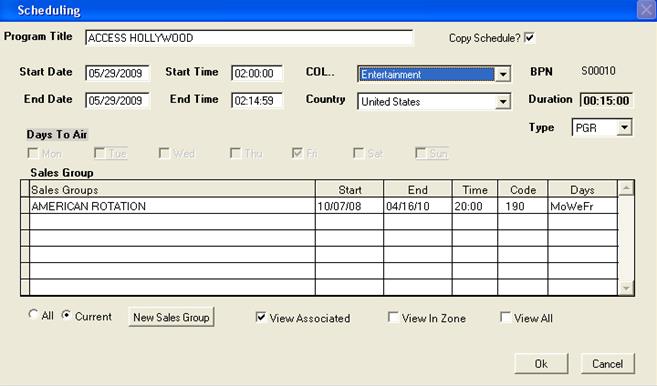
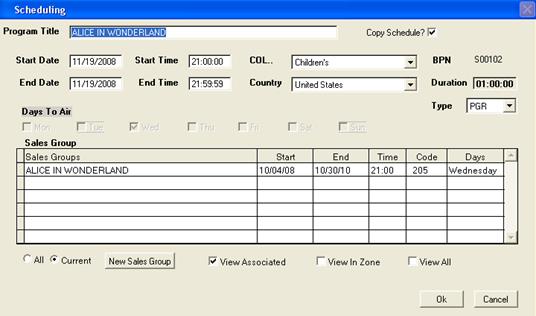
A new screen will appear to schedule the program.
Program Title – the name of the program that is
being scheduled (take note whether the program is a PGR or a PGI)
Copy Schedule (check marked by default) – this allows you to copy the program to a different station
Start Date – when the program will begin airing
End Date – when the program will stop being on the air
Start Time – the begin time of the program
End Time – the end time of the program
COL – this represents the Conditions of License which is defined under the Programming menu, Scheduling, COL Definitions. This program has been designated as “Children’s” (but can be changed in this screen at any time)
Country – the originating country of this program (can be changed at any time)
BPN – Broadcast Program Number (assigned when creating the program in Corporate Acquisitions)
Duration – the length of the program
Type – defines whether it is a Program, or an Infomercial, etc (can be changed at any time)
Days to Air – the days of the week that this program will air on
Sales Group – a list of Sales groups associated with the original program will appear here. There is the option to view All Sales Groups, the Current Sales Groups (this is the default), or create a New Sales Group.
Check mark which View to see; View Associated (will show all programs associated with this sales group); View In Zone (allows you to view all sales groups that have aired within that start time and end time).
Enter the start and end dates of the program. Right click in
the start/end date fields and select the date from the calendar  . Click the Ok button to continue.
*Note – if you change the time here, the program will shift to the new start time
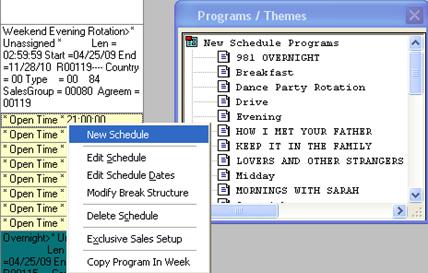
New Schedule Option
Highlight the program that needs to be scheduled in the Programs/Themes dialogue box.
Double click on the open time on the grid where this program will be scheduled and select New Schedule
This will bring up the screen where you can schedule the program on the grid, following the steps above.

If a program has a duration of 15 minutes, the start and/or end time can be altered as required. The start end time will be correctly displayed on the schedule
![]()
![]()
![]()